Trekking poles are useful outdoor tools that can help hikers maintain balance, navigate uneven trails, and feel more stable during wilderness adventures. Although commercial trekking poles offer adjustable lengths and specialized features, you can make a simple homemade alternative using bamboo or a suitable hardwood branch.
Learning how to make your own trekking poles is an affordable DIY project for hikers, backpackers, campers, and outdoor enthusiasts who enjoy building their own wilderness equipment. With a few basic tools and carefully selected materials, you can create a pair of traditional hiking poles for use on relatively easy trails.
This guide explains how to choose materials, measure your poles, make comfortable handles, attach protective tips, and test your finished equipment before heading outdoors.
1. Choose the Best Materials for Homemade Trekking Poles
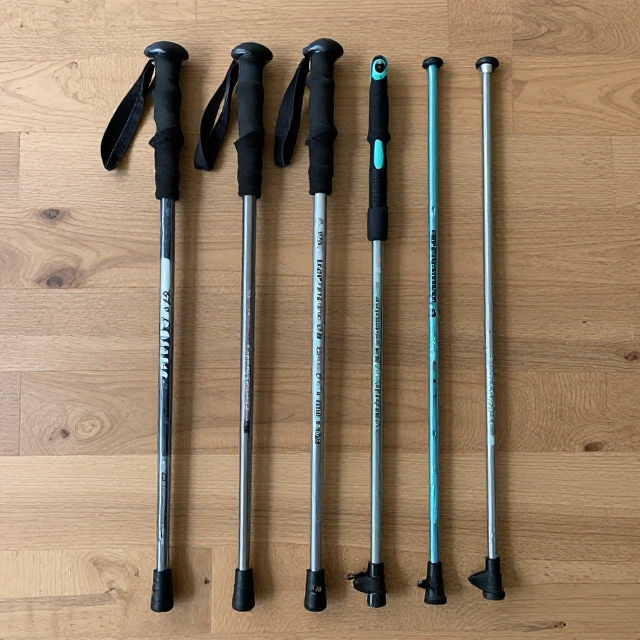
The material you choose affects the weight, durability, comfort, and reliability of your homemade trekking poles. Bamboo and hardwood are practical options for a basic project, while aluminum tubing may suit experienced DIY builders.
Bamboo Trekking Poles
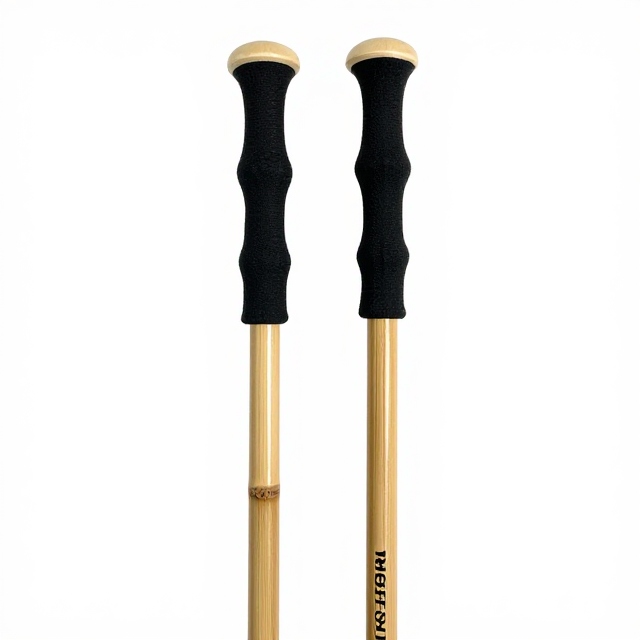
Bamboo is a popular choice for homemade hiking equipment because it is relatively lightweight, easy to cut, and naturally rigid. Mature bamboo canes with thick walls and intact joints can make useful walking poles.
Choose straight bamboo without cracks, splits, insect damage, or weak sections. Avoid thin, brittle, or weather-damaged pieces that could break under pressure.
Hardwood Walking Poles

A straight hardwood branch can be used to create a traditional walking stick or simple trekking pole. Select sound wood without rot, deep cracks, loose bark hiding damage, or signs of insect infestation.
Hardwood poles can be heavier than bamboo, but a suitable branch may be easy to find for a wilderness craft project. Follow local regulations when collecting wood, and never cut living trees or branches without permission.
Aluminum Tubing
Aluminum tubing is an option for DIY builders seeking a more technical design. However, a functional trekking pole requires suitable tubing dimensions, compatible grips, secure fittings, and a reliable tip assembly.
Avoid improvising telescoping joints or locking mechanisms without understanding their load-bearing requirements. For challenging hikes, commercially manufactured trekking poles are generally the safer choice.
2. Gather Your DIY Trekking Pole Supplies
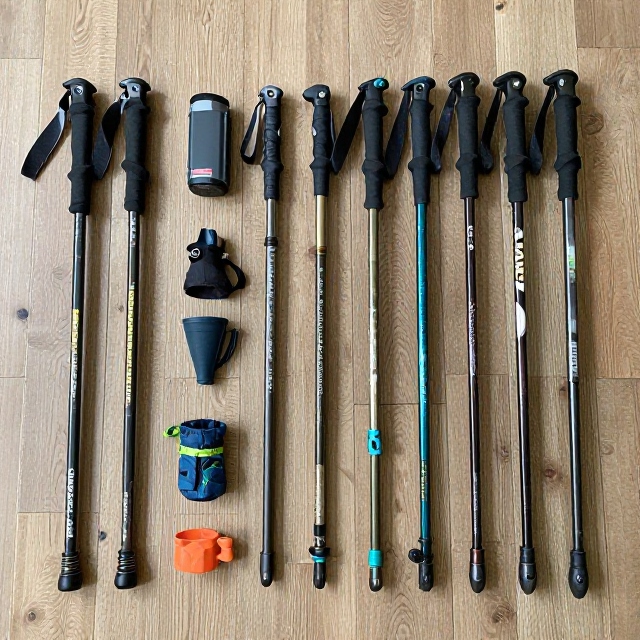
Before starting your project, collect the necessary tools and materials.
Materials:
- Two straight bamboo canes or suitable hardwood shafts
- Grip tape or durable handle material
- Compatible rubber ferrules or trekking-pole tips
- Optional compatible wrist straps
- Suitable adhesive for compatible fittings, if required
Tools:
- Measuring tape
- Pencil or marker
- Small hand saw or pruning saw
- Sandpaper
- Work gloves and eye protection
The final cost depends on the materials you already own and whether you need to purchase grips, tips, or fittings. Reusing suitable materials can make this an inexpensive outdoor DIY project.
3. Measure Your Trekking Poles to the Correct Length
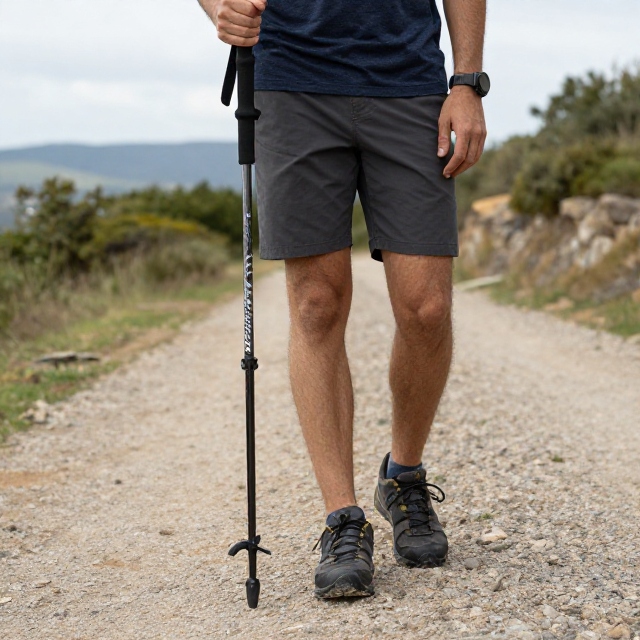
Proper sizing helps make trekking poles more comfortable to use. Begin by wearing the hiking shoes you normally use on the trail.
Stand upright on level ground while holding a pole with its tip resting beside your foot. Adjust or mark the shaft so your elbow bends approximately 90 degrees when your hand rests on the grip.
This is a useful starting point rather than a universal measurement. Some hikers prefer slightly different lengths depending on their height, walking style, and terrain.
For a fixed-length homemade pole, leave extra material until you have checked the measurement carefully. Cut the shaft only after confirming that the finished length will work with the handle and tip fittings.
4. Cut and Prepare the Pole Shafts
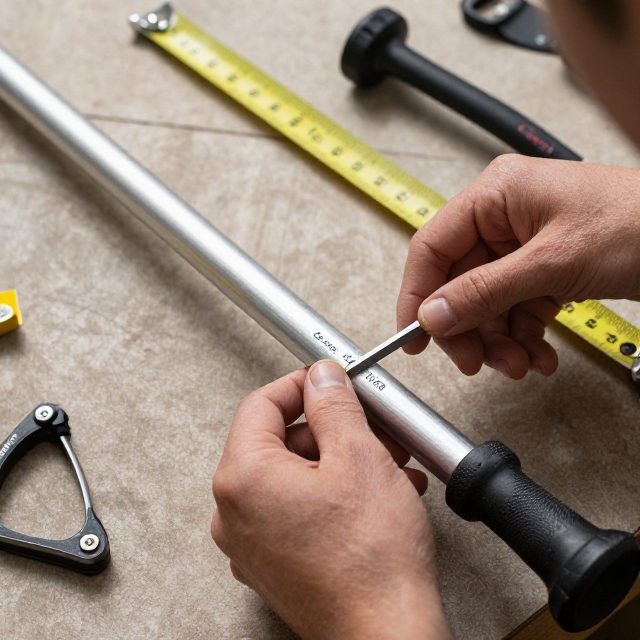
Measure both shafts and mark the desired cutting points. Secure each piece before cutting, keeping your hands clear of the blade.
Use a suitable saw to make clean cuts. Sand rough edges and remove splinters from the grip area.
Inspect the entire length of each shaft before continuing. Bamboo should be free from splits and weak sections, while hardwood should show no signs of rot or structural damage.
Do not use a shaft that bends excessively, cracks, or makes unusual sounds when gently checked. A homemade pole that looks sturdy may still fail under load, so visual inspection alone cannot establish its strength.
5. Create Comfortable Trekking Pole Handles
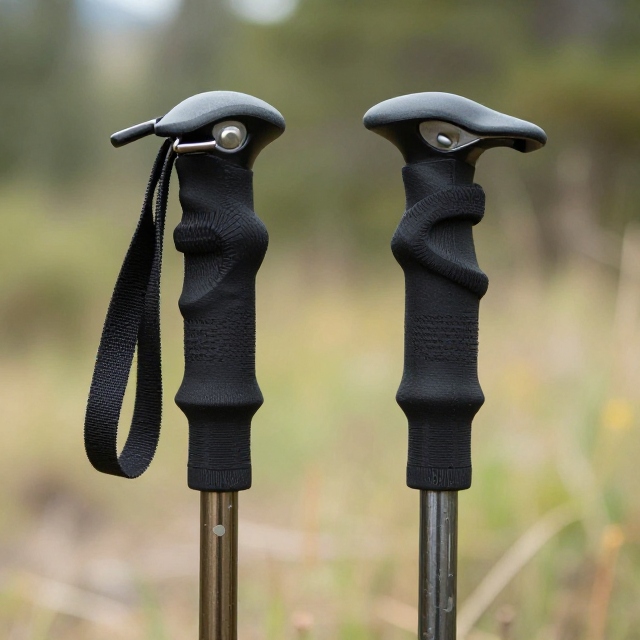
A comfortable handle makes homemade poles easier to grip during short walks and outdoor activities.
Sand the handle area until it is smooth and free from sharp edges. Wrap it with suitable grip tape or another secure handle material to improve comfort and reduce friction against your hands.
Keep the grip firm without making it excessively bulky. Check that the wrapping does not slide, loosen, or expose sharp edges during use.
If you add wrist straps, attach them only through a secure, suitable fitting. Avoid improvised attachments that could detach unexpectedly or trap your hands during a fall.
6. Attach Rubber Tips or Trekking Pole Tips
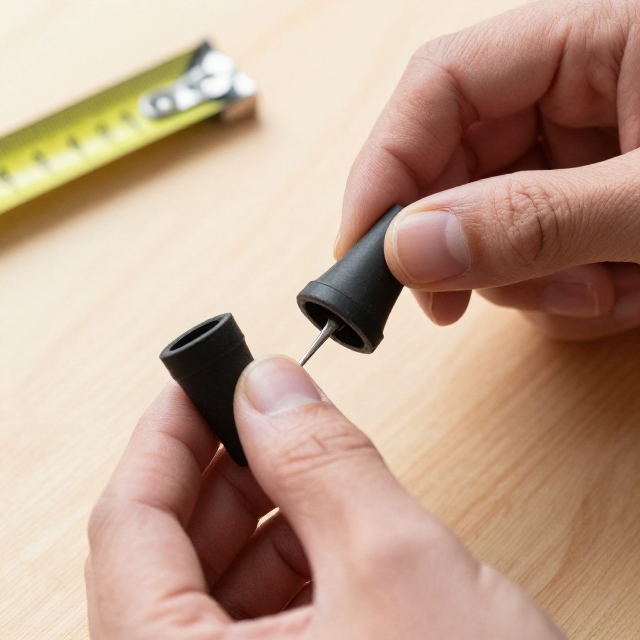
The bottom of each pole needs a suitable tip that provides dependable contact with the intended surface.
Rubber ferrules designed for compatible walking-stick shafts can work on paved paths and some firm surfaces. Purpose-designed trekking-pole tips may be more appropriate for hiking trails, depending on the shaft and fitting.
Choose fittings that match the shaft diameter and intended use. Ensure they cannot slide off during ordinary movement, and follow the manufacturer’s fitting instructions.
Never leave an exposed sharp metal point on a pole intended for general walking. Remember that rubber tips do not guarantee traction on wet rocks, ice, or loose ground.
7. Test Your Homemade Trekking Poles Safely

Before taking your new poles on a wilderness trip, examine each component.
Check for cracks, splinters, loose handles, slipping tips, and unstable fittings. Apply only gentle pressure during initial checks, and stop immediately if a shaft bends unexpectedly or shows signs of damage.
Try the poles on a flat, familiar surface before using them on a trail. Do not lean your full body weight on an untested homemade pole, use it to arrest a fall, or depend on it for support near cliffs, steep slopes, or dangerous river crossings.
Homemade poles are best treated as basic walking aids for suitable conditions, not as safety-rated equipment.
8. Customize Your Homemade Trekking Poles for Wilderness Use
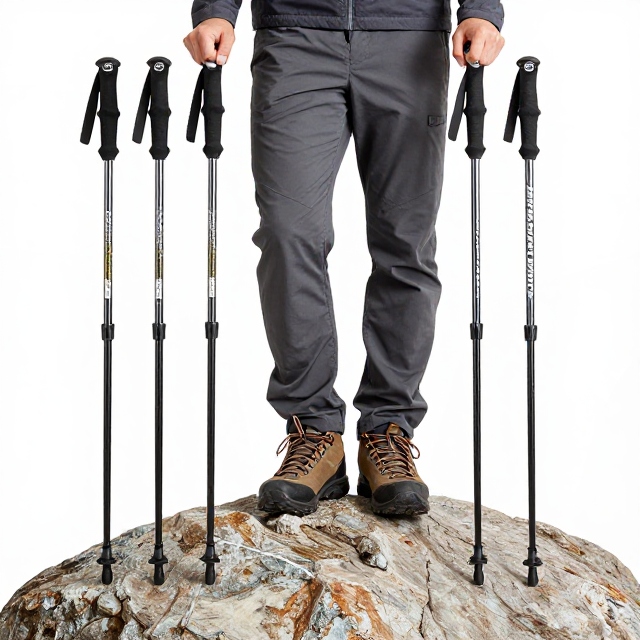
Once the basic poles are complete, you can make practical improvements suited to your outdoor activities.
Add Comfortable Grip Material
Grip tape can help improve comfort and reduce slipping from sweaty hands. Inspect the wrapping regularly and replace it if it begins to loosen or deteriorate.
Consider Compatible Mud Baskets
Some commercial trekking-pole baskets help limit how deeply poles sink into soft ground or snow. Use baskets specifically designed for compatible shafts and fittings rather than relying on improvised attachments.
Apply a Suitable Protective Finish
A finish appropriate for the selected wood may help protect it from moisture and surface wear. Follow the product instructions, allow the finish to cure fully, and inspect the shaft regularly. No finish can make damaged wood structurally sound.
Keep Your Equipment Simple
For a first DIY project, a straightforward fixed-length design is easier to construct than an adjustable pole. More complicated features add fitting and failure points that require careful engineering.
9. Homemade Trekking Poles vs. Commercial Trekking Poles
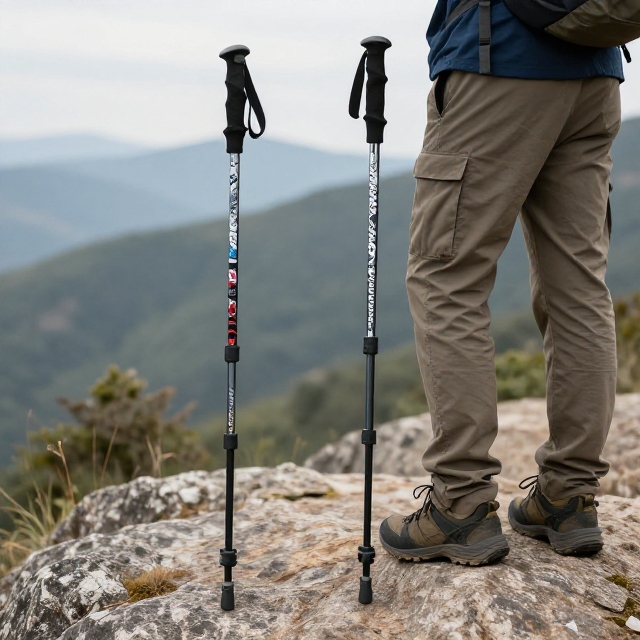
Homemade and commercial trekking poles serve different purposes.
Homemade poles can be inexpensive, customizable, and enjoyable to build. They are suitable for learning outdoor crafting skills and may work for gentle walks when properly made and used cautiously.
Commercial trekking poles commonly offer adjustable lengths, engineered locking systems, ergonomic grips, interchangeable tips, and designs tested for their intended use. These features are particularly valuable for frequent backpacking and demanding terrain.
If you hike regularly, carry a heavy pack, or travel across steep and exposed trails, prioritize commercially manufactured poles appropriate for your needs.
10. Tips for Using Trekking Poles on Hiking Trails

Good technique helps you use your poles more comfortably.
- On level trails: Move your poles naturally with your walking rhythm, placing the tips where they provide useful balance.
- On gentle uphill sections: Shorten adjustable poles if appropriate and place them securely without overreaching.
- On descents: Commercial adjustable poles can be lengthened to suit the slope. Fixed-length homemade poles offer less flexibility.
- On rocky ground: Test each placement carefully and avoid relying on a pole that can slip between rocks.
- Near water or cliffs: Do not use poles as a substitute for safe footing or sound route decisions.
Pole placement and traction vary with the terrain, weather, and pole design. Always prioritize stable footing over speed.
11. Common Mistakes to Avoid When Making Trekking Poles

Choosing Weak Materials
Cracked bamboo, brittle branches, and rotten wood can fail unexpectedly. Inspect your materials carefully and reject questionable shafts.
Cutting the Poles Too Short
Fixed-length poles cannot be adjusted easily once cut. Measure with your hiking footwear and account for the finished handle and tip before making the final cut.
Using Loose Handles or Tips
Loose fittings can compromise control. Use compatible components and inspect them before every hike.
Adding Unreliable Locking Mechanisms
Homemade adjustable poles require secure joints that will not collapse under pressure. Avoid improvised telescoping designs when their strength and locking performance cannot be verified.
Using Homemade Poles on Dangerous Terrain
A homemade pole is not a substitute for tested hiking equipment. Avoid relying on it for steep exposed trails, technical scrambling, slippery crossings, or situations where pole failure could cause serious injury.
Frequently Asked Questions About Homemade Trekking Poles
Can you make trekking poles from bamboo?
Yes. Suitable bamboo canes can be used to make simple fixed-length walking poles. Choose mature, straight pieces without cracks or other damage, and use appropriate grips and compatible tips.
What is the best wood for homemade trekking poles?
The best choice is a straight, sound piece of wood with no rot, cracks, or structural defects. Suitable hardwood can work well, but the strength of an individual branch cannot be guaranteed simply by identifying its wood species.
How long should homemade trekking poles be?
A useful starting point is a length that allows your elbow to bend approximately 90 degrees when you stand upright in your hiking shoes and hold the grip with the tip on level ground. Personal preference and terrain can affect the ideal length.
Are homemade trekking poles safe?
They can be useful for gentle walking when properly made and used cautiously, but their strength is not certified. For steep terrain, heavy backpacking, or situations where reliable support is important, use suitable commercially manufactured trekking poles.
How much does it cost to make your own trekking poles?
The cost varies with the materials and fittings you already have. Reusing suitable bamboo or wood may keep costs low, while purchasing grips, tips, and tools increases the total. Compare the finished cost with affordable commercial poles before deciding.
Can homemade trekking poles be adjustable?
They can be designed with adjustable mechanisms, but safe telescoping poles require appropriately engineered joints and locking systems. For most beginners, a fixed-length design is simpler and avoids the risks of unreliable locks.
Can trekking poles be used for backpacking?
Homemade poles may be suitable for some easy walking conditions, but backpacking can place greater demands on equipment. For long-distance hikes, steep terrain, or heavy packs, choose trekking poles designed and rated for the intended use.
Conclusion
Making your own trekking poles is a practical wilderness DIY project for hikers who enjoy creating simple outdoor equipment. Bamboo and suitable hardwood offer accessible starting materials, while comfortable grips and properly fitted tips help make the finished poles easier to use.
Measure carefully, inspect every component, and test your poles cautiously before taking them outdoors. Most importantly, understand their limitations. Homemade poles can be useful for gentle trails and outdoor projects, but reliable, commercially manufactured trekking poles are the better choice when challenging terrain demands dependable support.
With thoughtful material selection and careful construction, you can add a handmade piece of outdoor gear to your hiking kit while developing practical wilderness crafting skills.
Frequently Asked Questions About Making Your Own Trekking Poles
1. What materials can you use to make homemade trekking poles?
You can use mature bamboo, sound hardwood branches, or suitable aluminum tubing. Bamboo and hardwood are practical choices for simple DIY walking poles.
2. How long should homemade trekking poles be?
A good starting point is a length that allows your elbows to bend approximately 90 degrees when standing upright with the pole tips on level ground.
3. Is bamboo strong enough for trekking poles?
Suitable bamboo canes can work for gentle walking, provided they are free from cracks, splits, and weak sections. Their strength varies, so avoid relying on homemade bamboo poles for demanding terrain.
4. How do you make trekking pole handles comfortable?
Sand the handle area smooth and wrap it with grip tape or another suitable handle material. Ensure the wrapping is secure and free from sharp edges.
5. What can you use for trekking pole tips?
Compatible rubber ferrules work for some walking surfaces, while purpose-designed trekking-pole tips may suit trails. Choose fittings that securely match your pole shafts.
6. Can you make adjustable trekking poles at home?
Yes, but adjustable poles require properly engineered locking mechanisms and secure telescoping joints. Beginners are generally better off making fixed-length poles.
7. Are homemade trekking poles cheaper than store-bought poles?
They can be cheaper if you already have suitable bamboo or wood and basic tools. Purchasing specialized grips, tips, and other fittings can increase the cost.
8. Are homemade trekking poles safe for backpacking?
Homemade poles may suit easy trails, but their load-bearing strength is not certified. For steep terrain, heavy backpacks, or situations requiring dependable support, use suitable commercially manufactured trekking poles.
9. Can you use tree branches as hiking poles?
Yes, a suitable, sound branch can make a traditional walking stick. Avoid rotten, brittle, cracked, or damaged wood, and follow local rules before collecting branches.
10. How do you maintain homemade trekking poles?
Inspect the shafts, grips, and tips before each hike. Keep wooden poles dry when possible, replace loose fittings, and stop using any pole that develops cracks, splinters, or unusual bending.
11. Do homemade trekking poles need wrist straps?
Wrist straps are optional. If you add them, ensure the attachments are secure and that you can release your hands quickly if the pole catches or you fall.
12. Can homemade trekking poles be used in snow?
Some homemade poles may work in suitable shallow snow, but they can sink deeply without appropriate baskets. For winter hiking, use purpose-built trekking poles with compatible snow baskets and equipment designed for the conditions.



Leave a Reply